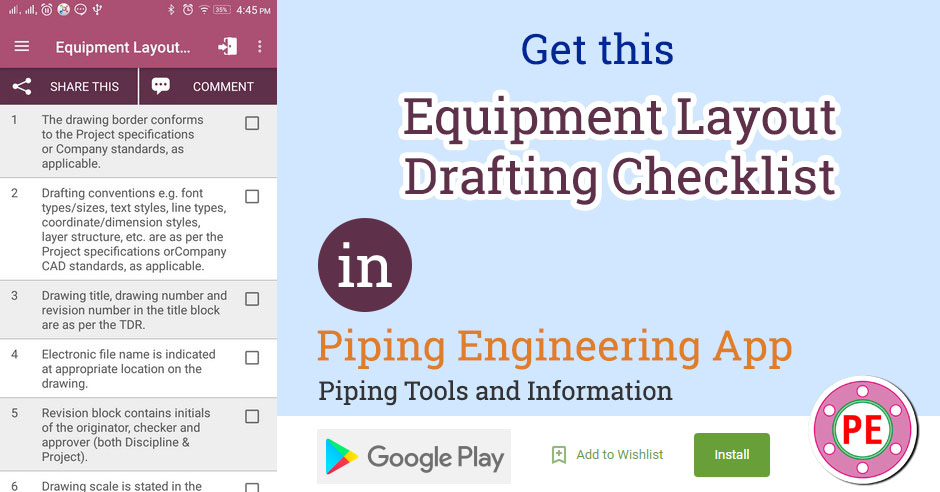
This checklist covers the drafting requirements for a Equipment Layout Drawing.
| Sr | Check Item | Done |
| 1 | The drawing border conforms to the Project specifications or Company standards, as applicable. | |
| 2 | Drafting conventions e.g. font types/sizes, text styles, line types, coordinate/dimension styles, layer structure, etc. are as per the Project specifications orCompany CAD standards, as applicable. | |
| 3 | Drawing title, drawing number and revision number in the title block are as per the TDR. | |
| 4 | Electronic file name is indicated at appropriate location on the drawing. | |
| 5 | Revision block contains initials of the originator, checker and approver (both Discipline & Project). | |
| 6 | Drawing scale is stated in the title block and graphic scale (bar scale) is shown. | |
| 7 | The drawing scale conforms to the Project specifications or Company standards, as applicable. | |
| 8 | All general notes are checked and the units for dimensions, coordinates & levels are given in the notes. | |
| 9 | Legend for applicable symbols is shown (e.g. new/existing facilities, scope cloud, etc.) | |
| 10 | Reference drawing numbers and titles are listed and checked. List shall includeoverall plot plan and key plot plan as aminimum. | |
| 11 | Status stamp (e.g. For Approval , For Construction ) is shown. | |
| 12 | Revision clouds, along with revision number triangles are marked properly, if applicable. | |
| 13 | Hold clouds, if applicable, are properly marked and the list of Holds is indicated. | |
| 14 | Key plan is shown and the applicable area/unit of the plot plan is highlighted. | |
| 15 | All tags are clearly marked and are legible. | |
| 16 | Match line co-ordinates and drawing limits are clearly marked and are consistent with the Key Plan drawing. Continuation drawing numbers are correctlywritten. | |
| 17 | Drawing extracted from 3D CAD model is not manually edited. |

